<<< Back to Home

Narodna Nošnja: National Costumes

This is my dumping ground for anything and everything to do with cool balkan costumes :)

2025-02-23 // Baby-Sized Ćemer

The ćemer is a particular piece of national costume that's very much dear to my heart. It's a large, long leather belt that often has a pocket up front. It has many names -- ćemer is what it's called where my family is from, but it's called a pašnjača among the Vrlikans, and a silav -- after the bensilah, a Turkish implement of similar appearance -- among the eastern Serbs.
A Ćemer which I made for a friend this year.

In my days I've only ever seen one in person that I didn't make, and it belonged to my grandfather. They're rather rare, most especially in the United States. It was actually my inspiration for learning leather working in the first place.
I've made something like five or six of them at this point. I thought it'd be a good idea to make one for my son ( coming soon! ), so I came up with a rough outline of what I thought I wanted.
A basic plan for a baby's ćemer.

It's going to be somewhat different from the others I've made -- it'll be more in the 'bensilah' style, where it has a front strap for holding on to a weapon. Probably a cute little wooden sword. I also want it to be able to hold cute little jingly bells. Off we go.
The first parts cut out.

I've got plenty of veg tan in good shape laying around, so I just got to work. I made it something like 11x5 -- typically, I'd go taller, but he's just going to be a little thing. It's small enough that I can put it on him, but big enough that it'll last him until he's a toddler.
Many folk use a wing divider for adding their edge lines. I've got the pleasure of owning a very heavy industrial drafting compass, given to me by the late Tony Marinković, a close family friend.
Lining is followed by beveling, which removes any excess and makes for a nice clean edge to work with later on when it's time to slick down the fibres.
Preparing the edges of the leather.

Now we prep to dye the leather. The front strap will remain nude and so receives no dye. The main body, though, I'll dye with Fiebing's Dark Brown Pro Dye. Why this one? Good question. It pulls up something fierce. I've gone to the ends of the galaxy to prevent it, too.
I use simple kindergarten foam brushes for laying dye. I'd use the wooly daubers, but they just don't provide the same level of coverage! Either one's pretty cheap, though.
The dye station is just garbage bags and plastic cups, like the overrated high school parties we felt so bad missing out on while we played RuneScape long into the evening.
The setup for laying dye.

Once the dye is laid, I typically like to let it cure for a long time. Overnight will usually do. I dip-dyed the little belt because it was small enough to fit in the solo cup, and it actually wound up needing another coat the next day. That's alright.
Pro dye lays down pretty matte. Whether it's even or not is a trick of the hand ( and maybe the eye ), but it'll all shake out in post anyway.
The dye is laid.
Before I apply any top coat I'll seal the flesh side ( the yucky back ) with a mixture of neatsfoot oil and beeswax. I prepared pucks another time that's about a 50/50 mixture by weight. You can do a double-boil setup on the stove, it works pretty well. I put them in little cupcake tins and popped them in the freezer.
The beeswax keeps it coherent and the neatsfoot oil will help make the leather more pliable. It'll darken up the back. You can apply a coat at a time, then melt it in with a hairdrier. It does very well, and the results speak for themselves.
Before and after sealing with wax and oil.

Next, we do a top coat. The recipe is the same for both the nude parts and for the dyed. We start out with a leather conditioner ( just a Lexol will do ) to get some moisture into the grain side. Once that's dry, we can optionally add an oil -- mink or neatsfoot -- if it's not feeling flexible yet ( hard to believe ). We finally buff in carnauba creme and let it stand for a while. This helps to even out the dye coat.
While that's enough to get the leather hydrated, it's not enough to seal it. For that we add two coats of atom wax and blast it with the automatic buffer. Oh, the automatic buffer. It gives us an incredible shine, and a waxy protective coat. The shine is beautiful and glossy!
After the leather is coated and sealed.

I come up with a quick belt buckle. The buckle itself is made out of stainless steel ( good for longevity, eh ). I made the keeper out of some veg tan, stapled together with an eyelet and some glue. We make two of these.
The belt buckle.

While we're getting the attachments together, we can prep the belt strap. Instead of making a whole new belt every time he puts on another five pounds, I can just make a quick new strap. This first one has 12 usable inches.
Getting our belt strap together.

We attach the belt buckle to the main body using rivets and burrs. I attach it lightly at first so that I can make sure that I've got it square off the edge.
The rivet and burr tool has two parts -- an open hole for pushing the washer down around the shaft of the rivet, and a dish for flattening the rivet. Before using the dished side, we use nippers to cut down the shaft of the rivet. Then we can smush the remaining rivet over, preventing the washer from raising above the newly peened edge.
This rivet will outlive us all.
Riveting the belt buckle to the body of the belt.

The front strap requires a little decoration. We add a little uhh... circle? That's decorative. Traditionally, ćemers have rivets and eyelets, so we'll do some of those, too. Eyelet tools are simple to use! Or are they? I just learned you're supposed to put the 'face' of it downward, against the tool, and the striker fits inside the butt. Weird.
Decorating the front strap..

Now we're on the home stretch. We use our weaver forks to punch holes for sewing. Some dewds just use a stitching pony and an awl. I like to punch ahead of time. Different strokes. I'm not making money, so time isn't exactly of the essence, here.
Getting the belt ready to sew.
I don't use a stitching pony -- Corter Leather on YouTube teaches a method where you sort of do a 'leap frog'. It's plenty tight for my purposes. We sew the front strap onto the front body piece first. Then we sew the body onto the back! Dodge the straps. It came out a little bound because there was an off-by-one in the top left with the holes, but nothing a little brute force can't fix :)
This is ~ technically ~ the last step.
Sewing in-progress and complete.
Now I mentioned I wanted to add some bells. I'd ordered some from the internet and cleaned them up a touch... now when he runs around the house, I'll hear him coming!
Adding bells. Cute!
That's about it! This was a very cute project. It took about a weekend. I can't wait to make him wear it. Haw haw! He'll be so cute.

2024-07-13 // Shin Guards?

Srpskohrvatski English
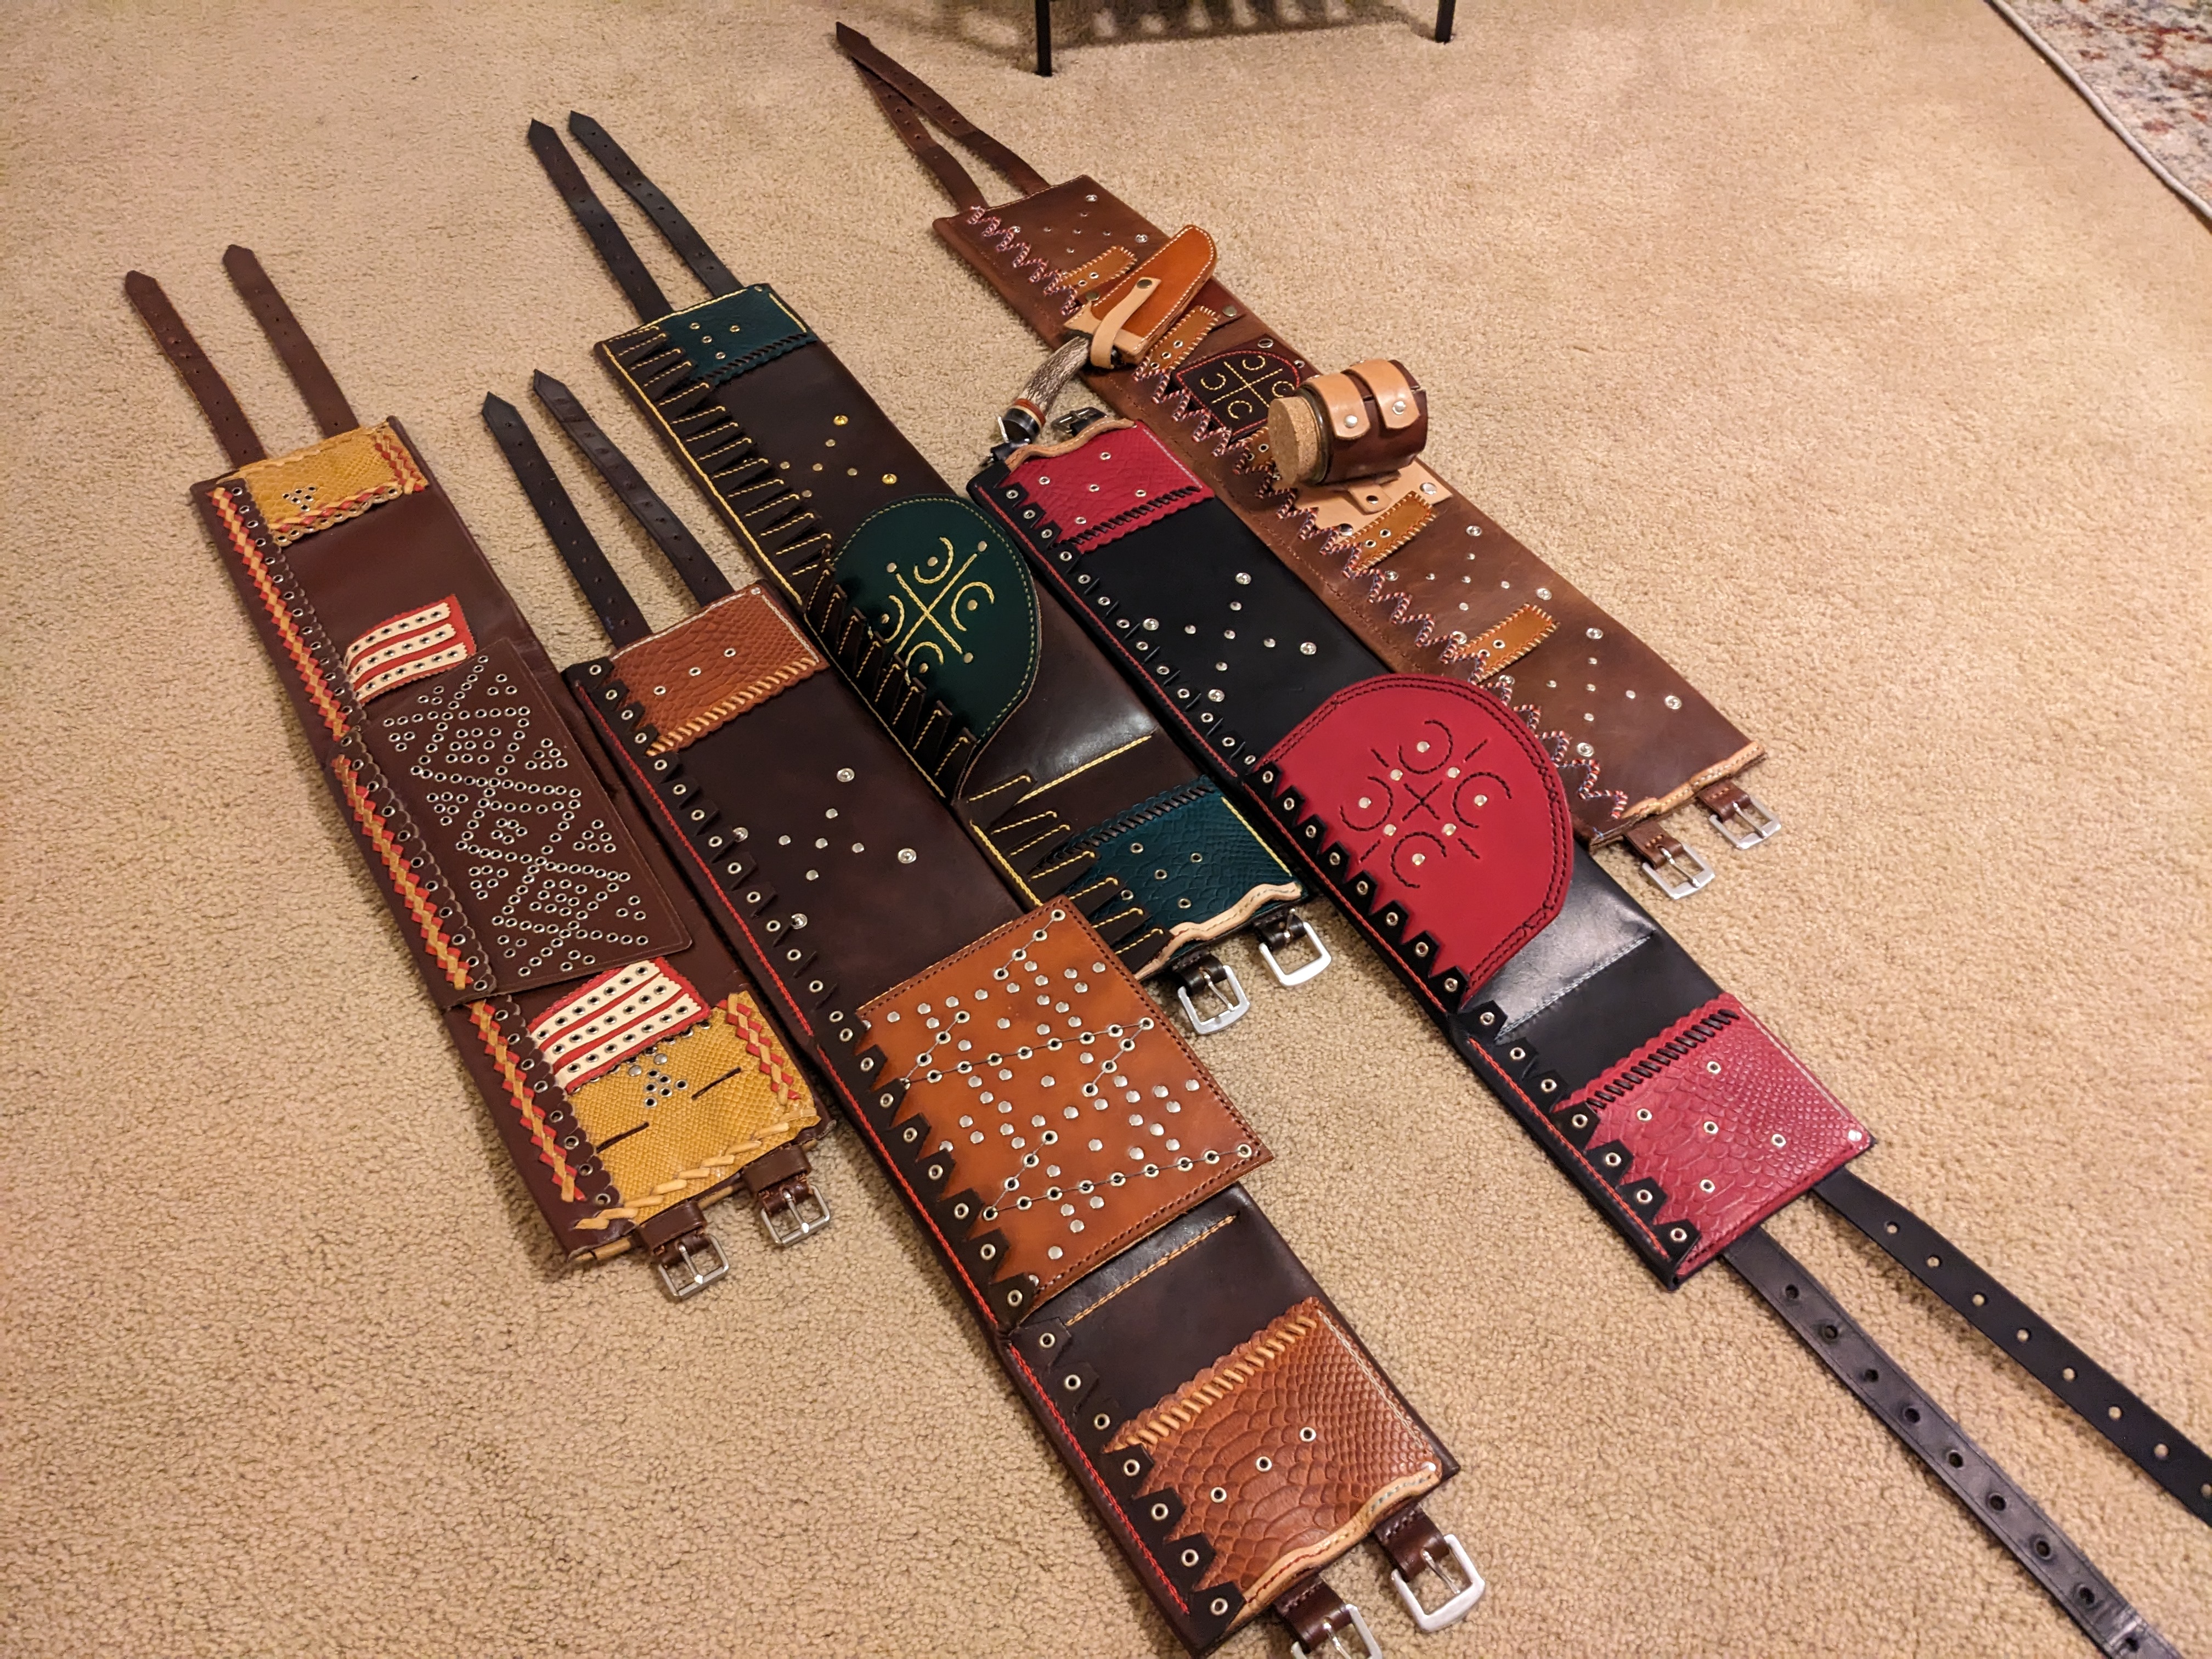
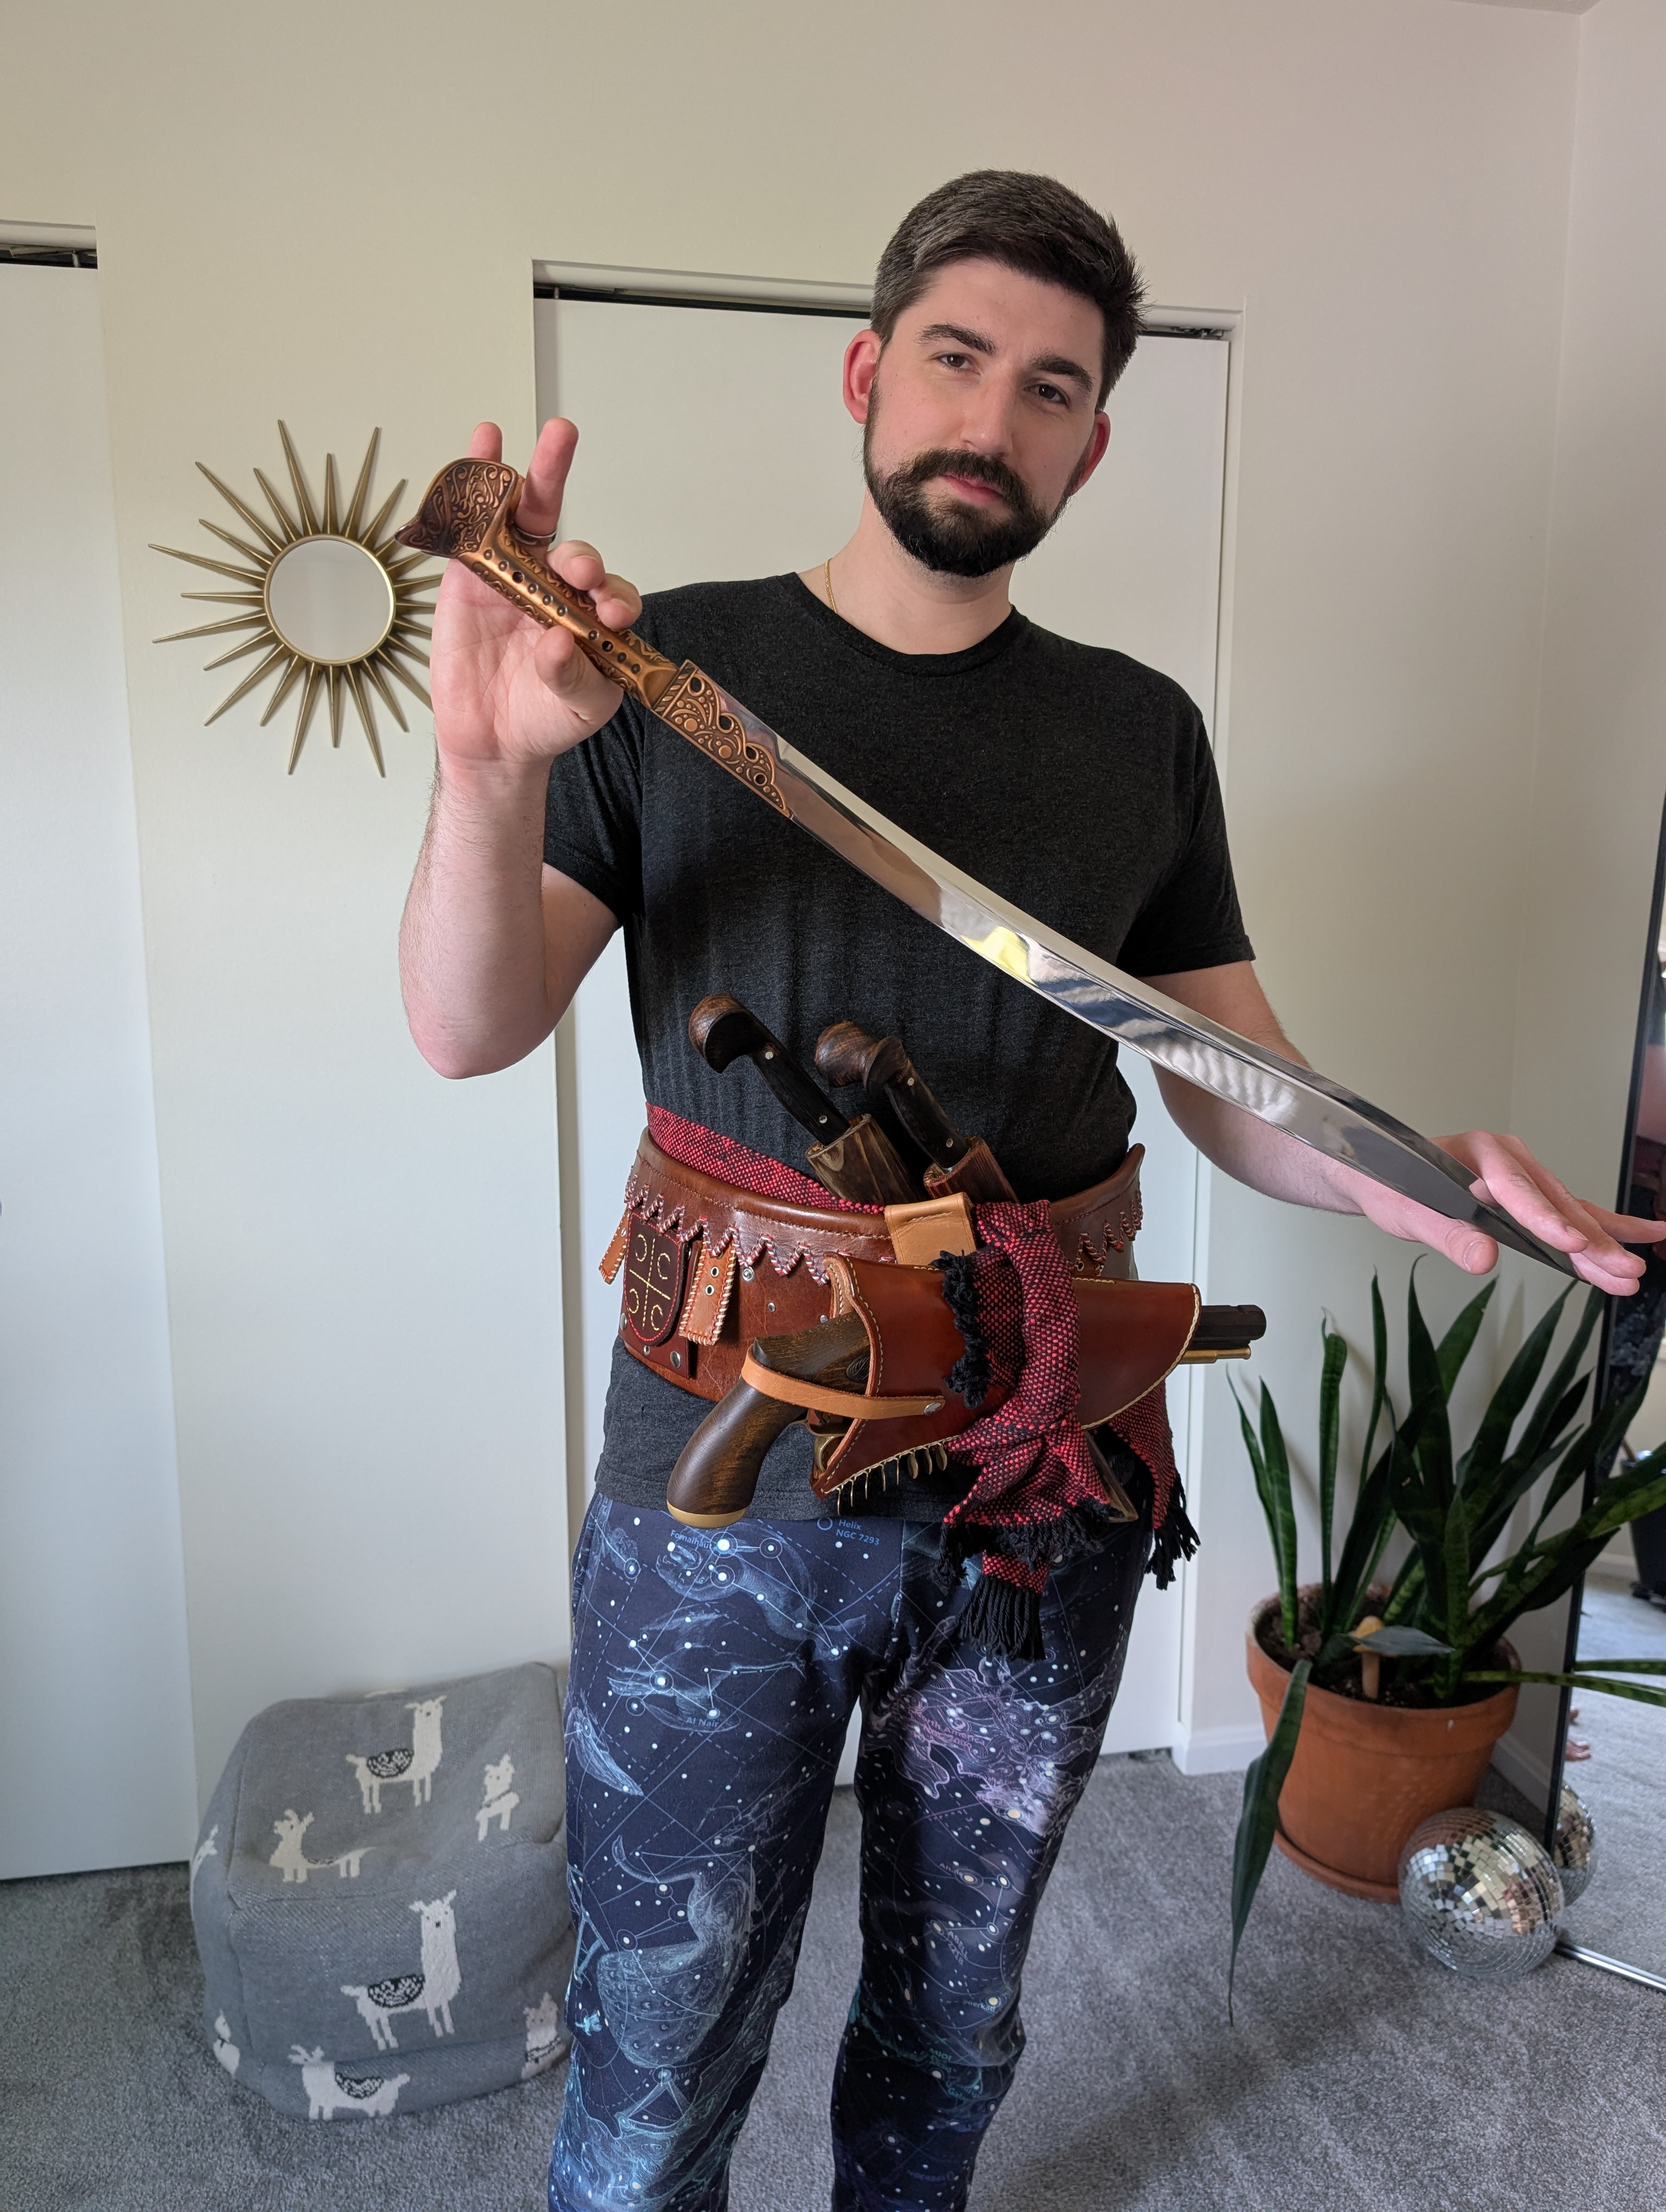
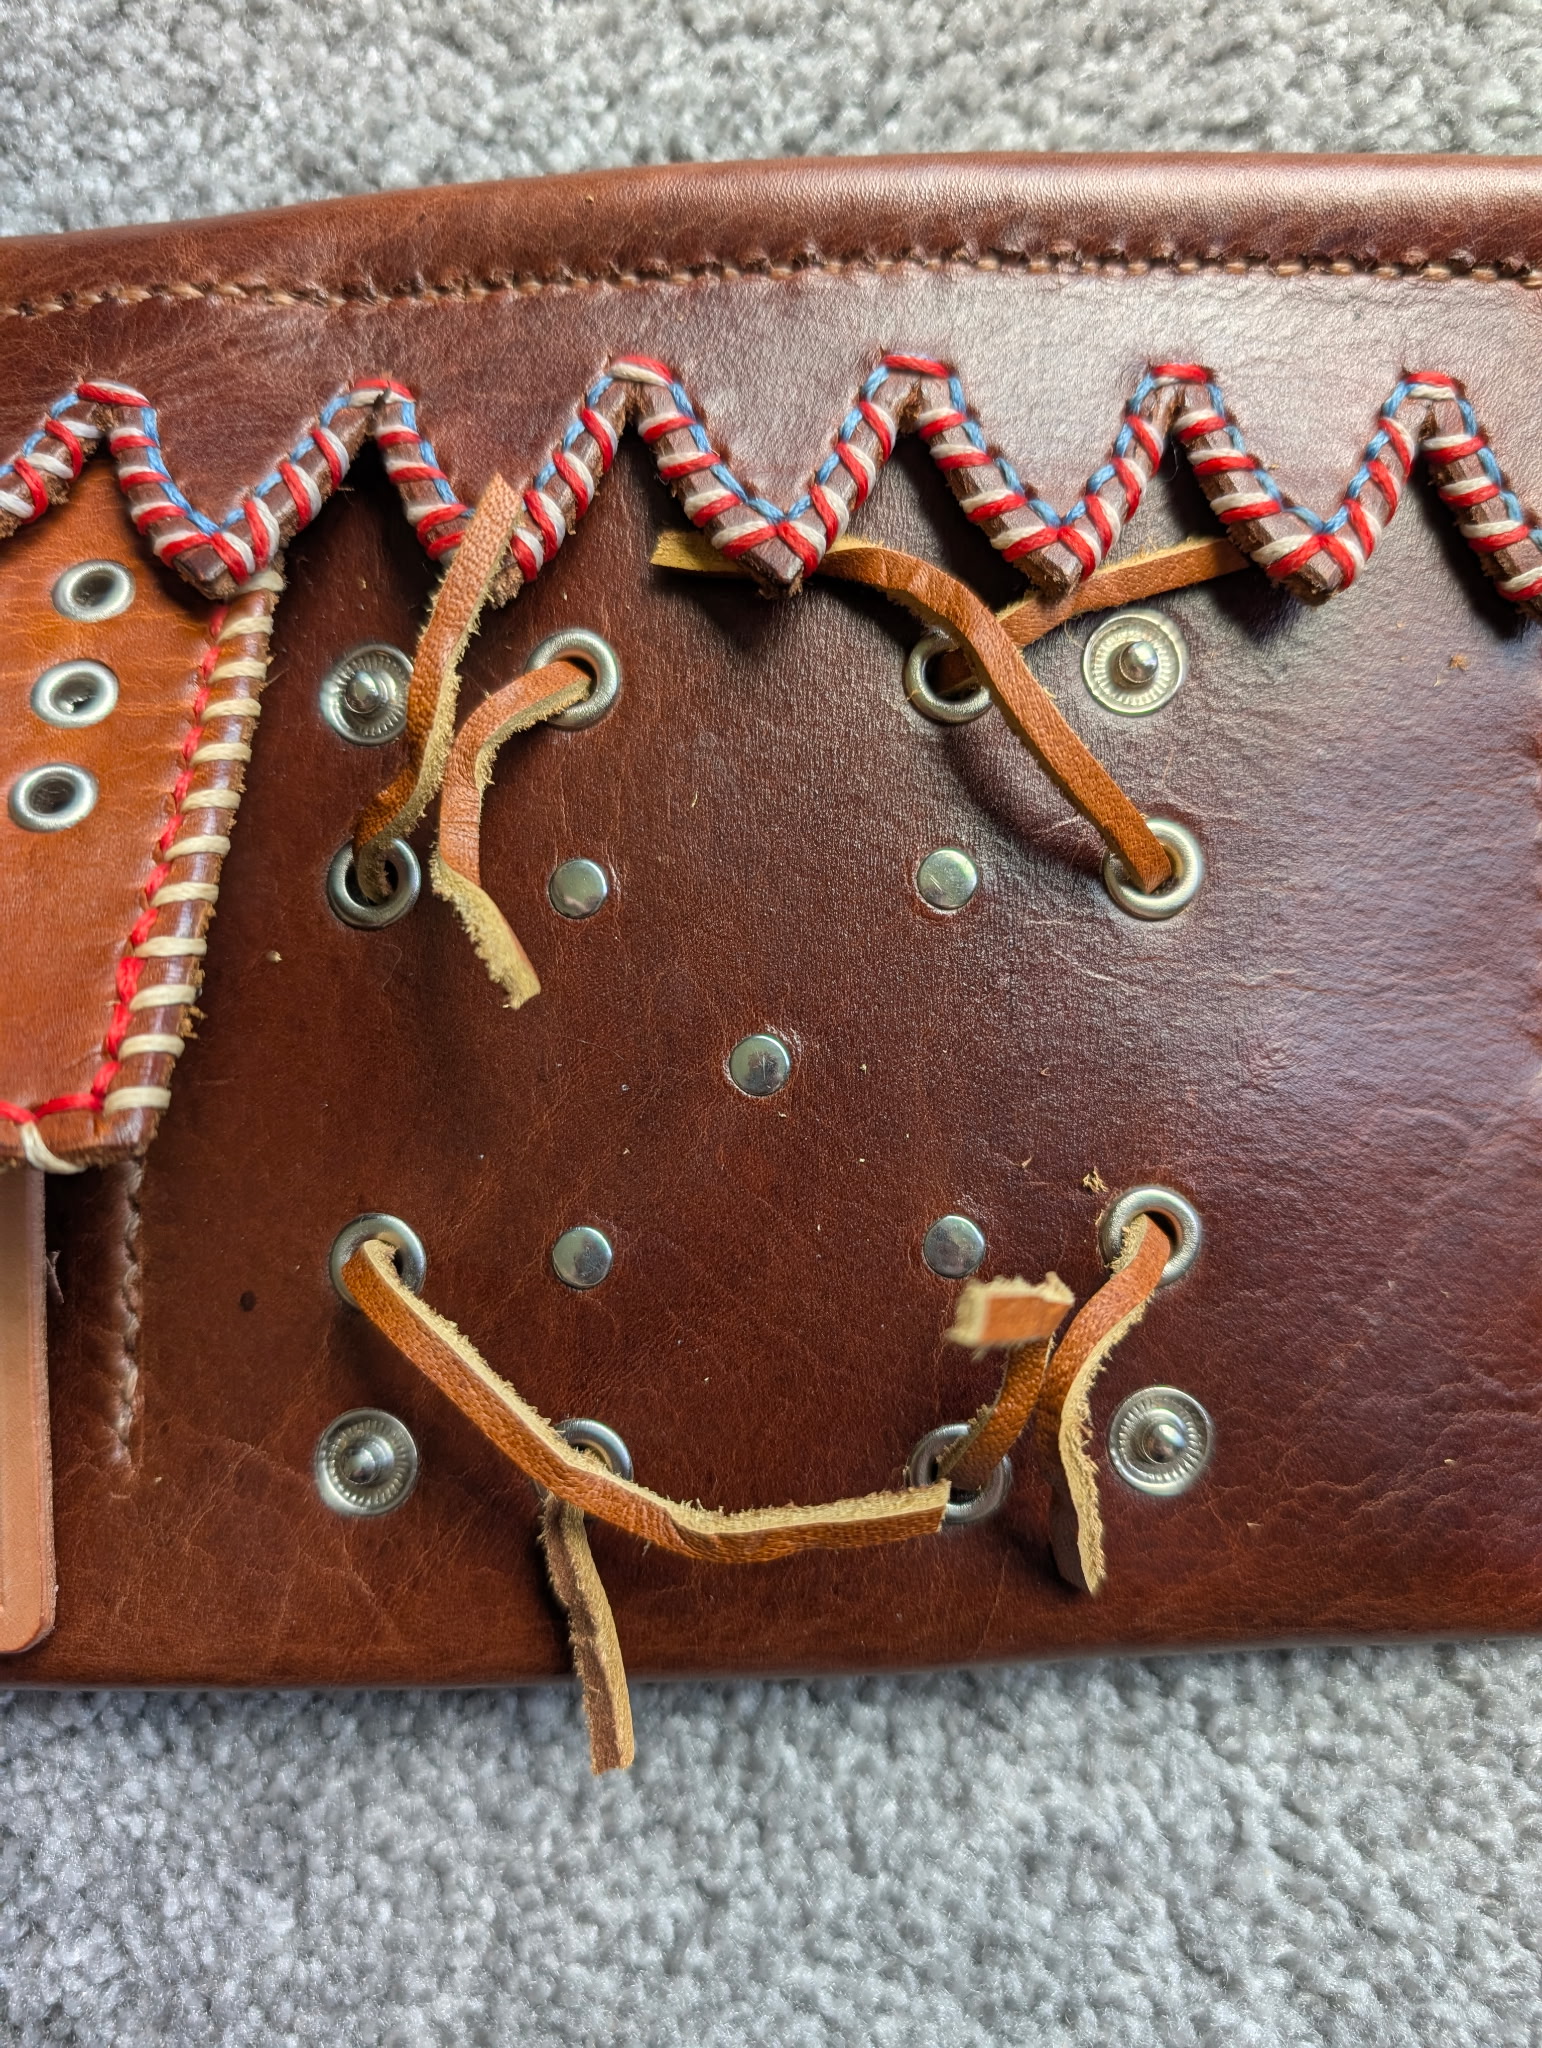
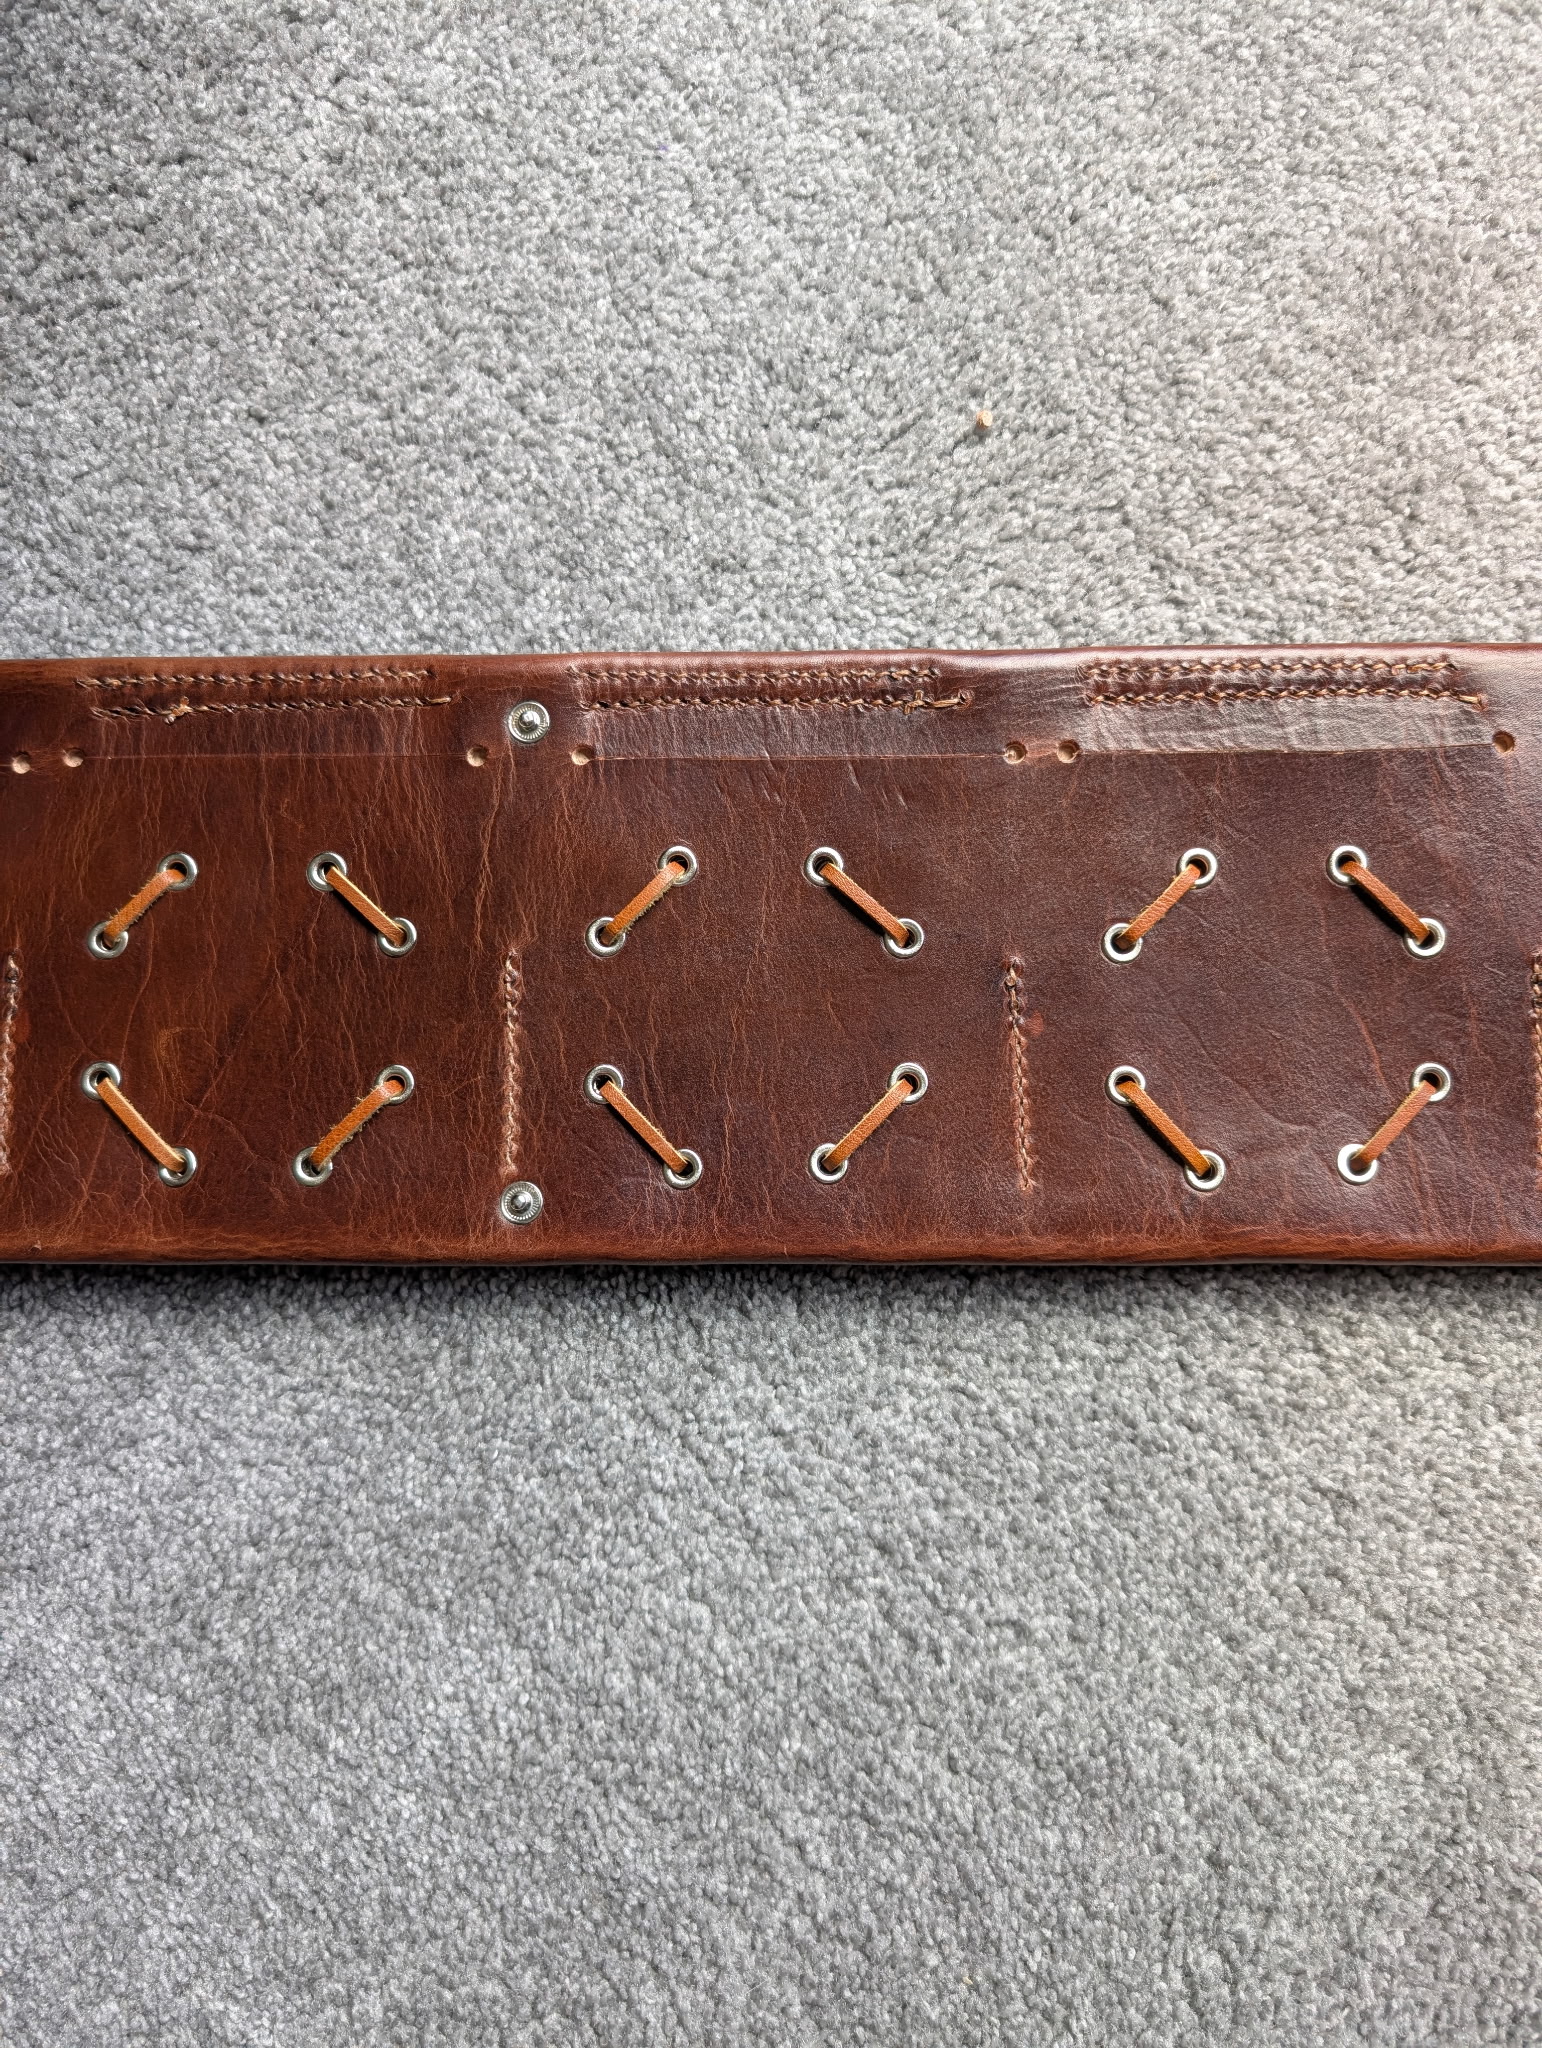
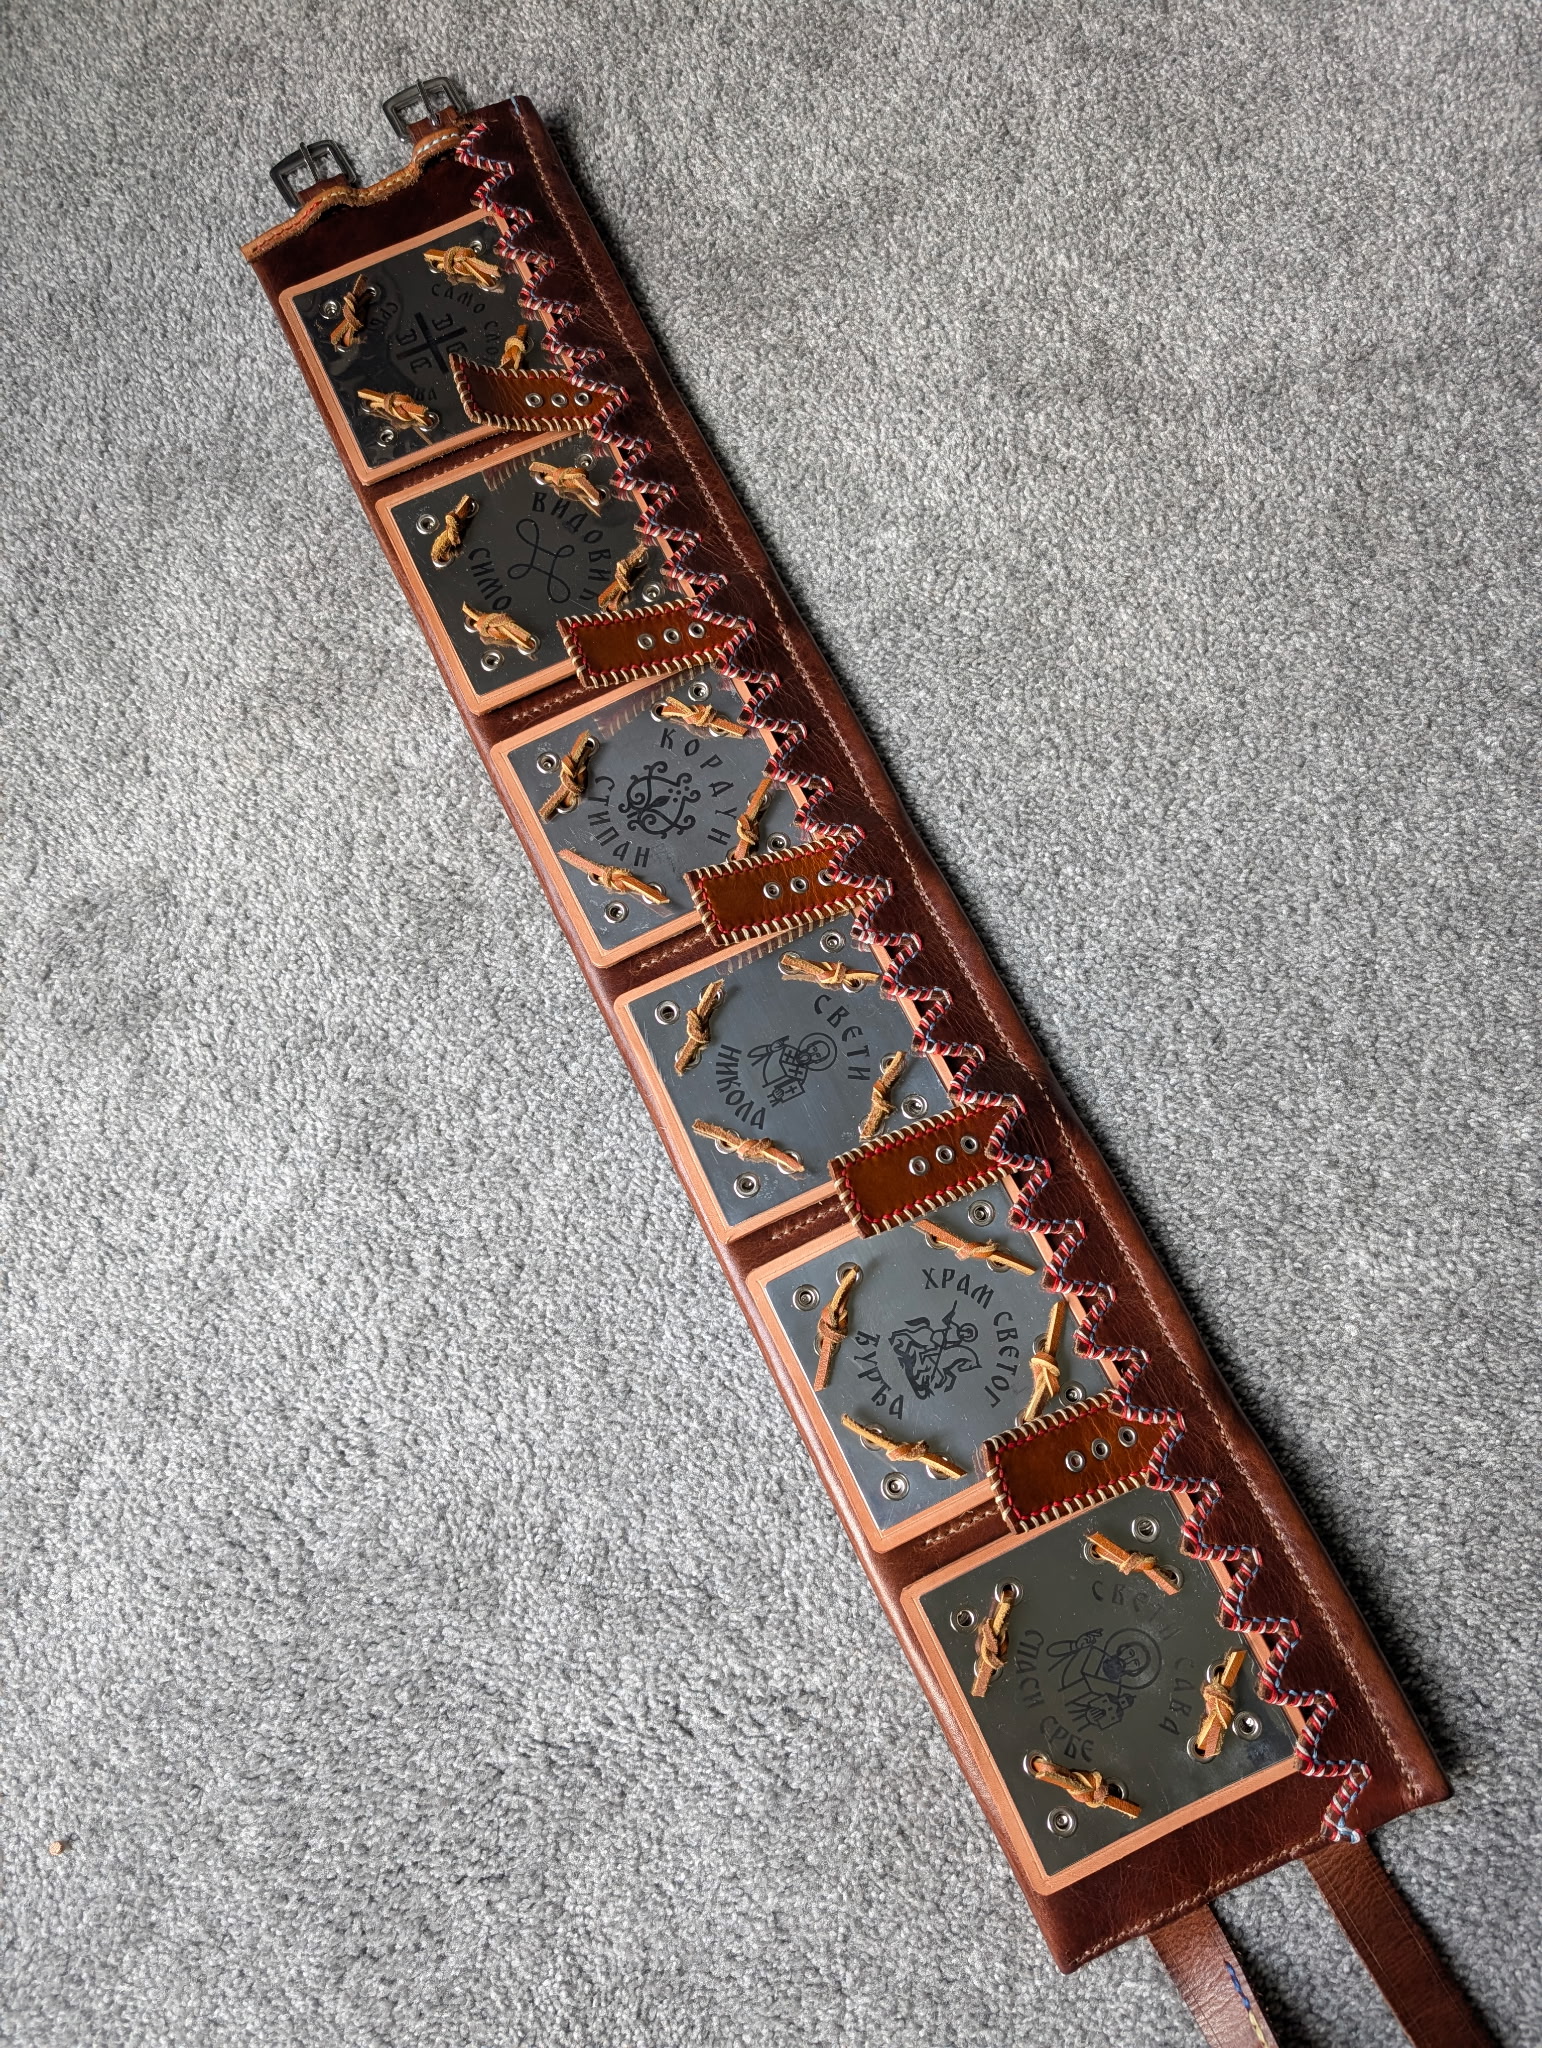
U Vrlici, oni imaju deo nošnje što se zove 'kostobrane za potkolenice'. Oni nose Vrlične kostobrane oko Uskrsu dok oni vežbaju običaj 'Čuvanje Hristovog groba'. U ovim slicama, ti možeš da vidiš Vrlični muškarci u nošni, na nogama nose svoje kostobrane. Nedavno ja sam našao sliku muškarca koji je nosio nošnju sa Korduna. Na njegovim čakširama, vidiš šaru petlje. Ja sam želio da napravim kostobrane sa ovom šarom, i tako ja bih imao kostobrane 'sa Korduna'...! Ja sam napravio moje kostobrane od sintetičkog filca, kože, i pamuka. Mislim da prave kostobrane su izrađene od vune, ali teško ja da nađem vunu ovđe. Ja sam kupio kožu iz lokalne prodavonice, i ja sam postavio boju. I pamuk je... zgodan -- možeš da ga nađeš svugde, ovđe. Posle toga, šio sam sve. Počeo sam u Maj, i ja sam završio u Jul. Ja sam naučio kako da vezem na ovim, i zadovoljan sam sa mojom radom. Crven i Crn je "tema" što mnogo volim: moj prvi pojas je crven i crn, i moje kostobrane takođe. Uskoro, ja ću da napravim pravu, graničarsku kabanicu, i će biti crvenu takođe! Možda treba da napravim pašnjaču sa crnom i crvenom bojama, kao oni imaju tamo... U međuvrijemena, pravim mnoge šajkače, Ličke kape, i šubare. Ja ću da ih prodajem na 'Serb Fest', koji je velika žurka što moja crkva ima u Septembar. Možda mi ćemo da se videmo tamo :) In Vrlika, they have a piece of costume which is called "shin guards". They wear Vrlikan shinguards around Easter while they practice the custom of "Watching Christ's Tomb". In these pictures, you can see Vrlikan men in costume, on their legs they wear their shin guards. Recently I found an image of a man who wore costume from Kordun. On his pants, you see a pattern of a loop. I wanted to make shin guards with this pattern, so that I would have shin guards "from Kordun"...! I made my shin guards from synthetic felt, leather, and cotton. I think that real shin guards are made of 'vuna' ( a special home-made wool ), but it's difficult to find vuna here. I bought the leather from a local shop, and I set the color. And cotton is... handy -- you can find it everywhere, here. After that, I sewed everything. I started in May, and I finished in July. I learned how to embroider on these, and I'm satisfied with my work. Red and black is a "theme" that I like a lot: my first pojas ( a woven, cloth belt ) is red and black, and my shin guards as well. Soon, I'll make a real, border-guard's kabanica ( a long. often red cloak ), and it'll be red as well! Maybe I should make a pašnjača ( a Vrlikan leather belt ) like they have there... In the meantime, I'm making a lot of šajkačas ( _the_ Serbian hat ), Lika caps ( round hats from Lika ), and šubaras ( tall, fluffy hats). I'll sell them at 'Serb Fest', which is a big party that my church has in September. Maybe we'll see each other there :)


<<< Back to Home